Now it's the uppers chainplates' turn for replacement. These plates anchor the critical upper shrouds which run to the top of the mast. These are the most heavily loaded shrouds on the Triton (and most sailboats) and they need a bulletproof anchor.
To start, I lashed a wooden beam to the forward and aft lower chainplates, detached the uppers, and then lashed the uppers to the middle of the beams. The shrouds aren't tight but these beams will provide enough temporary support during the work.
 I knocked the old chainplates out through the deck with a hammer. Compare the original 1"x 1/8" three-bolts chainplates with the new 1" x 1/4" 316L SS plates with 5 bolt holes. These new plates are also electropolished for corrosion resistance. I did all the engineering calculations for rigging loads and then for chainplate cross section and am confident that these are robustly sized. They have tensile & yield strengths comparable to the other parts of the rig. If I get ambitious I'll post my rigging loads spreadsheet here one day. If you want to do these yourself, get a copy of Henderson's rigging book for the rig loads and any solid mechanics textbook for the tensile, bearing strength, and shear strength calculations.
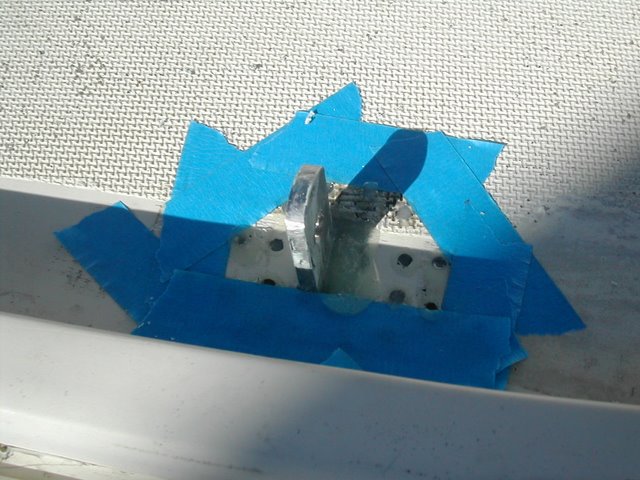
 This is the starboard chainplate location. I'll fill the old holes with epoxy and layup a few layers of fiberglass over the beds for reinforcement. The new chainplates will extend much farher down the main bulkhead than did the old ones.
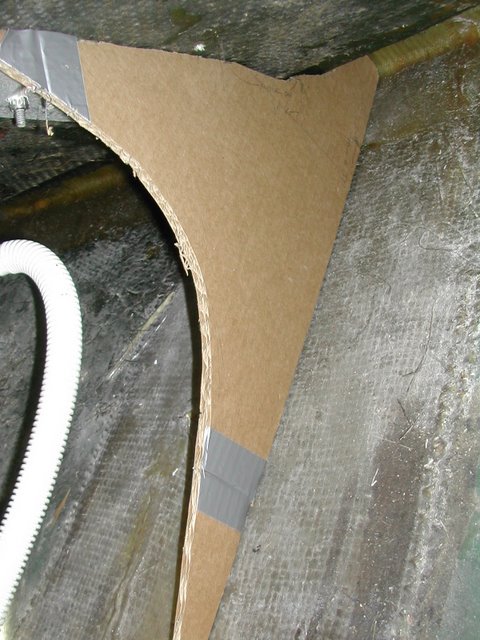